Client Features and UI#
Now that the client is running, it’s a great time to familiarize yourself with some of the features you can build with the SDK.
Portals & Volumes#
Omniverse renders in visionOS can be displayed in Portal mode, which acts as a view into another environment, or Volume mode, where objects are placed directly into the user’s space.
Portal mode in Omniverse acts like a view into another environment, rendered in stereo with head tracking, making objects appear just beyond the portal opening. This mode is ideal for art-directed environments or when dealing with digital twins that are too large for comfortable viewing in volume mode.

Volume mode places objects directly into a user’s space, allowing them to cast shadows and be manipulated with gestures. Users can walk around the volume, approach it closely, and even explore its interior. This mode offers a more immersive and interactive experience with the rendered objects.

To switch between portal and volume modes, select the Cube icon in the top left corner of the Configuration window.
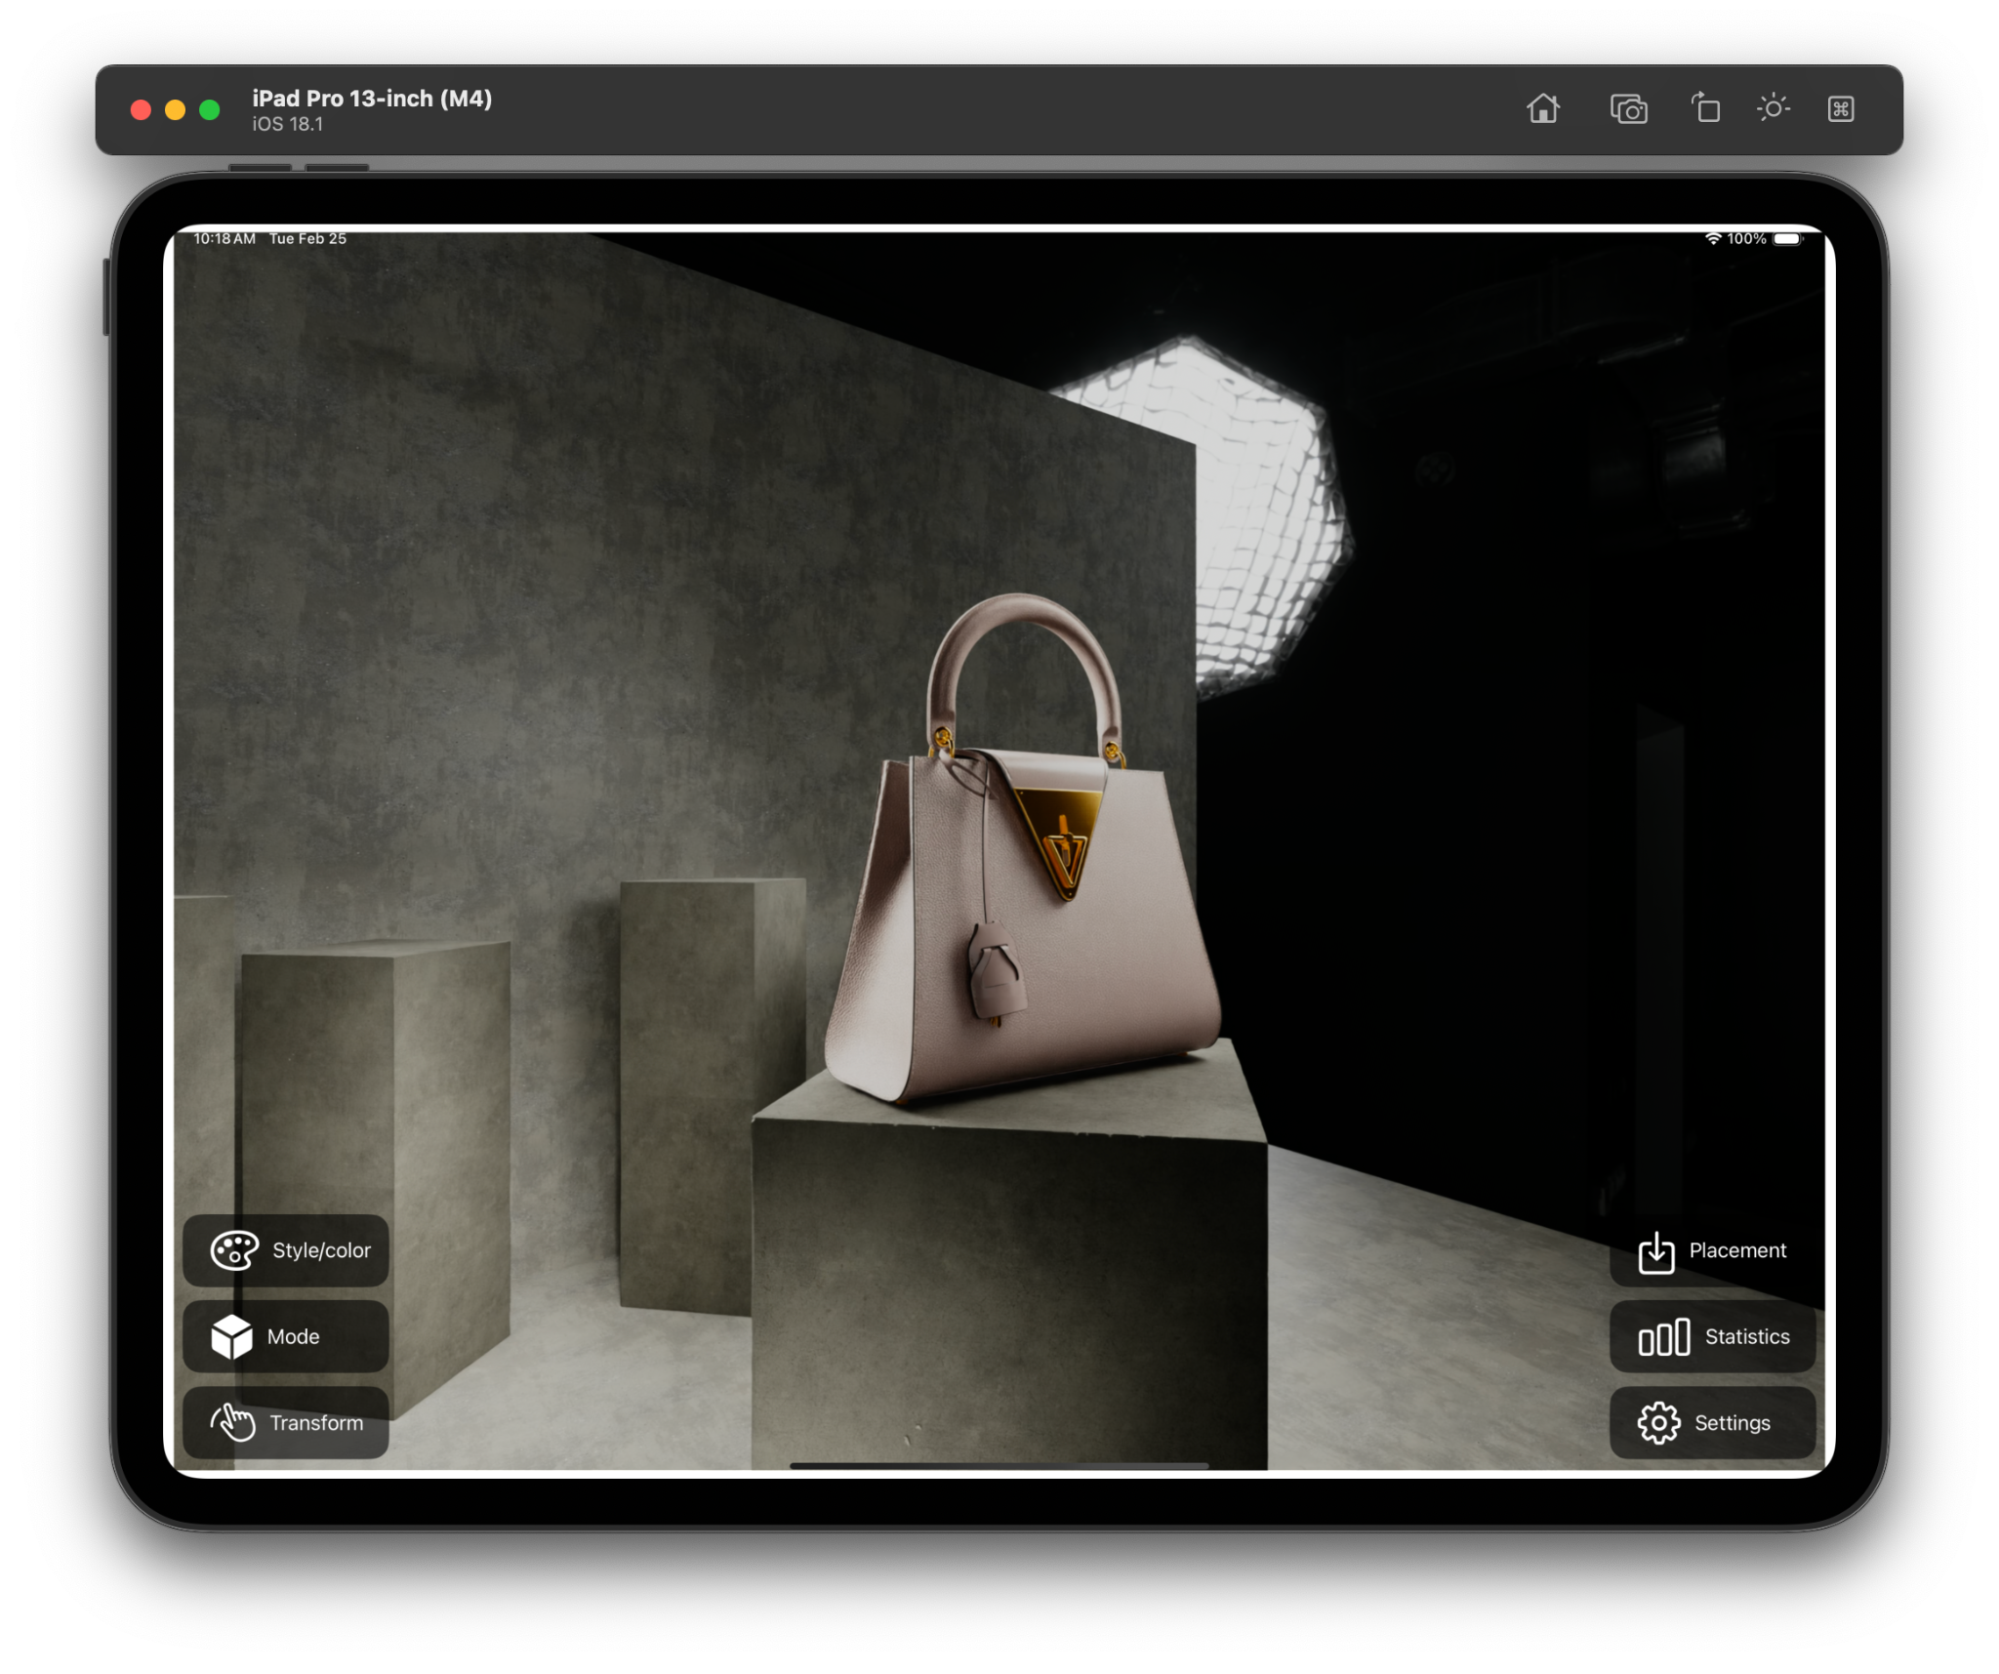
On an iPad Pro we can still leverage the same “Mode” logic to trigger the background on and off. While the iPad client does not support Portals, the same variant and render settings changes can be applied to help change between mixed reality and fully immersive workflows on the iPad Pro.
Buttons and Sliders#
SwiftUI provides developers with effective tools like buttons, sliders, and lists to trigger custom JSON messages to Omniverse for dynamic updates and interactions. In the Configuration window, developers can use thumbnails to represent different variants, such as leather types and metal colors. Selecting a thumbnail sends a JSON message to Omniverse, updating the variant.
The Configuration window also includes a Camera icon in the top right corner, which opens a list of camera views. Selecting a view adjusts the user’s position in the stage, altering the portal view. A lighting intensity slider allows for adjustments, sending updates to the Omniverse server upon release. Additionally, buttons can trigger animations and control object visibility, offering a robust set of interactive features for visionOS development.

For iPad OS, we adapt these same SwiftUI elements to a view more comfortable for tablet usage. You can find these in the `StreamingView` components for iOS.

Gestures#
Gestures are available in the Volume context. In volume mode, you can pinch and hold with one hand while moving the hand to the left and right to rotate the Purse. This is a common “click and drag” gesture in visionOS. Likewise, you can pinch and hold with both hands and move their hands closer or further apart to scale the Purse. We calculate these gestures locally using the built-in RealityKit Gestures, and send the desired rotate and scale value back to Omniverse to update the stage.
For iPad OS, you can find our gesture examples in the `GestureHelper` component where we attempt to determine if a pinch gesture is attempting to scale or rotate the object, similar to the QuickLook controls for 3D files.
Placement Tool for Vision Pro#
The Placement Tool in Apple Vision Pro allows you to position and anchor a virtual asset onto flat, horizontal surfaces within an AR environment. The placement feature does not work in the visionOS Simulator, only on the device. Activate placement mode by pressing the “Place” button, which brings up a placement puck that follows your head’s direction. Move the puck to the desired location, then use a pinch gesture to anchor the asset in place.

Configure your Xcode Project for the Placement Tool#
To make sure the Placement Tool works correctly, make sure XCode is configured with the necessary keys.
In Xcode select Configurator > Info > Targets > Configurator to see the keys.
Verify that the following keys exist:
NSWorldSensingUsageDescription: Needed to track model position in the world
NSHandsTrackingUsageDescription: Required to accurately place models, and streaming hand tracking data to a remote server

These keys are required for AR placement functionality. They inform the user why the app needs access to world sensing and hand tracking capabilities.
Placement Tool for iPad Pro#
For the iPad Pro we use the Floor Detection API to allow a user to identify and place the scene anchor using the camera feed of the iPad. We display a transparent diagnostic color of where the floor is being detected and then let a user tap to place the scene at that location. This AnchorEntity can be created by other anchor APIs in RealityKit if desired.

Depth Occlusion in iOS#
3D assets rendered in augmented reality are occluded by the real world mesh generated automatically with the device sensors. By default we disable this depth occlusion by disabling depth on iOS. If you’d like your experience to be automatically occluded by the world mesh modify enableDepthEffects to be true in the Session.swift code:
#if os(iOS)
    /// (iOS only) Whether the CloudXR render should output depth for depth-based effects like
    /// real-world occlusion and
    /// depth-of-field blur.
    public var enableDepthEffects: Bool = false
#endif